
A first drawing-to-sound loop
Draw music online: make your first sound doodle
Start with one green line. By the end, you will have a loop you can recognize, change without losing, and save in the right format. You do not need notation, an account, or a formal lesson.
Start with one rising line and a deliberate rest
The fastest way to understand the instrument is to draw one gesture whose sound you can predict. A rising line is ideal because its visual direction and musical direction are easy to compare, while the blank paper after it makes the repeat obvious.
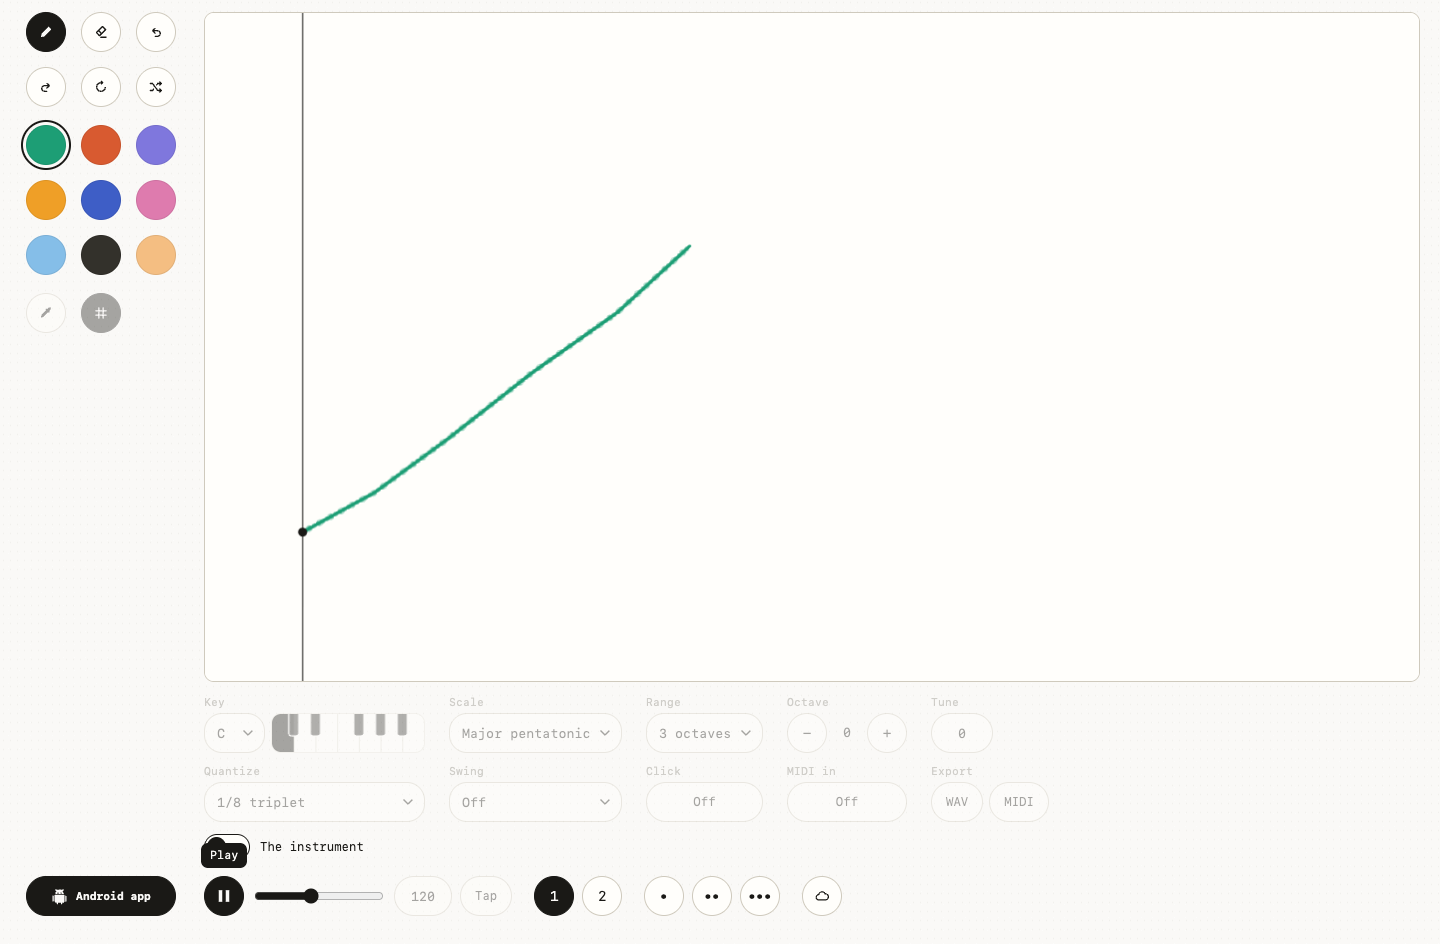
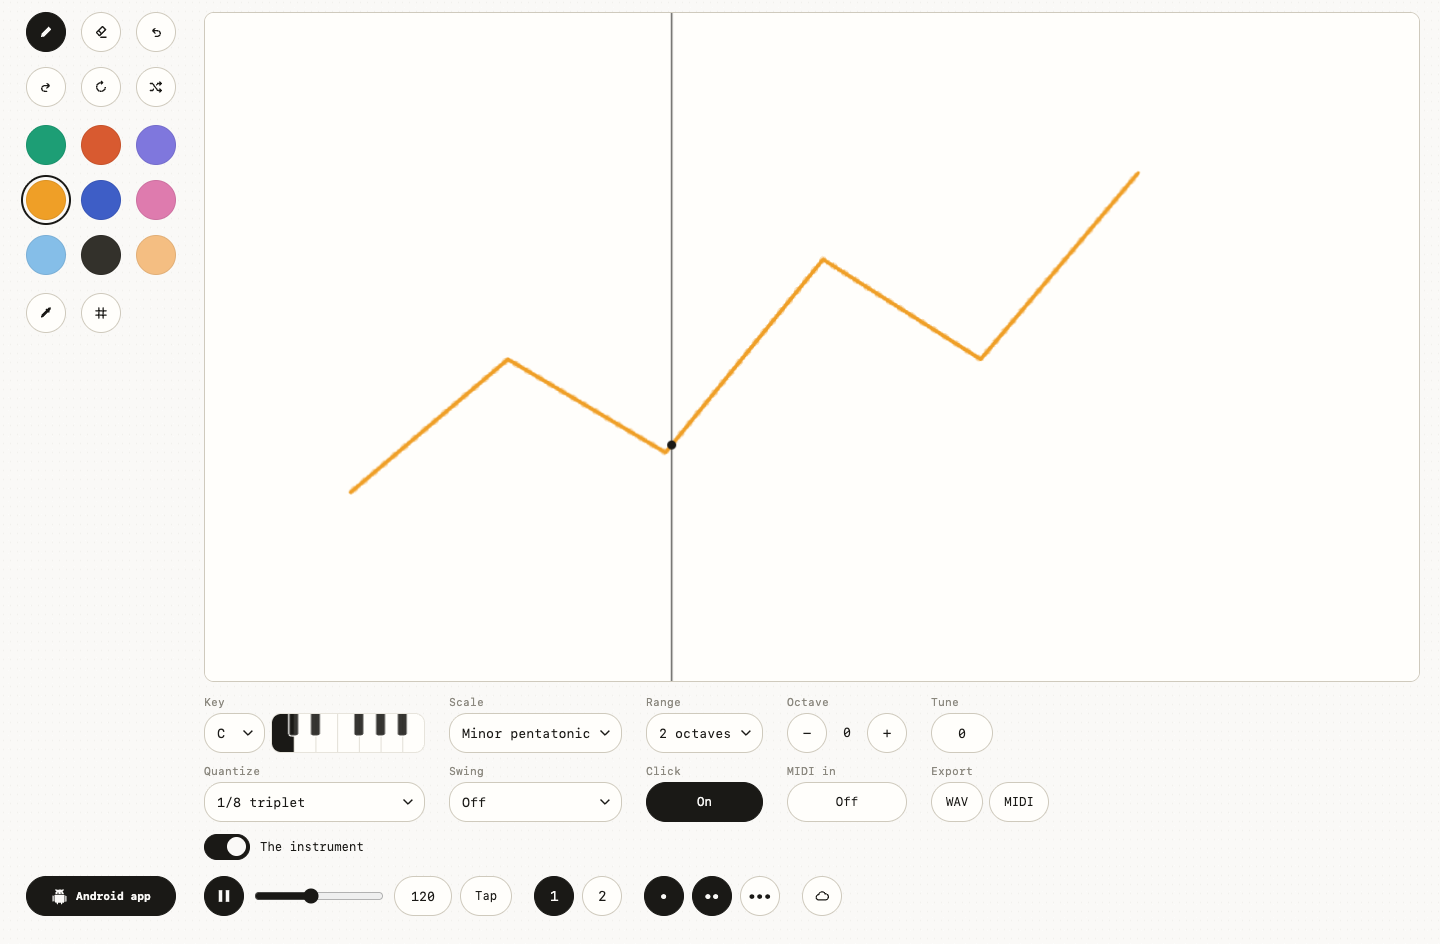
Try it once: Draw a short green line from the lower-left toward the upper-middle, then leave the right half of the canvas empty. Move the entire line higher without changing its length or left-to-right position.
The editor scans the page from left to right, so the line's horizontal span becomes duration and its height becomes pitch. Ask yourself: Does the phrase begin and end at the same moments while its pitch level moves upward?
The easy mistake is covering the whole canvas before hearing the first line. If that happens, clear the page, redraw one line, confirm that the instrument switch is on, and tap Play once.
If that works, take it one step further: Draw a falling reply later on the page, using roughly the same width but ending lower than it began. You should hear two distinct phrases separated by quiet, with the second answering the direction of the first. Stop there for a moment. The small version is easier to hear than a crowded canvas.
- Start: Draw a short green line from the lower-left toward the upper-middle, then leave the right half of the canvas empty.
- Change: Move the entire line higher without changing its length or left-to-right position.
- Listen: Does the phrase begin and end at the same moments while its pitch level moves upward?
Turn the first line into a phrase with a beginning, middle, and end
A musical doodle becomes memorable when its shape has internal contrast. You can create that contrast without adding complexity: bend the line once, repeat one point, and decide exactly where silence begins.
For the next pass: Draw a three-part contour that rises, dips, and rises again, occupying no more than the left two-thirds of the canvas. Shorten only the middle dip so the final rise arrives earlier.
Rhythm comes from the distance between events as well as from the global tempo, so changing spacing reshapes the phrase locally. Ask yourself: Does the phrase feel more hurried even though the overall tempo control has not moved?
This gets muddy when you start confusing a faster drawing gesture with a faster musical tempo. If that happens, use Undo, rebuild the contour slowly, and compare the horizontal positions rather than the speed of your hand.
A good second take is simple: Repeat the contour later on the page at half its width, keeping its high and low points recognizable. The compressed version should sound like a quicker echo of the same visual idea. If the second take surprises you, keep it. A useful test can become a song idea.
Keep the melody and change only its voice
Color in this editor is functional, not decorative. Each palette color selects a different voice, so tracing the same contour in a second color is a direct way to hear timbre without rewriting the phrase.
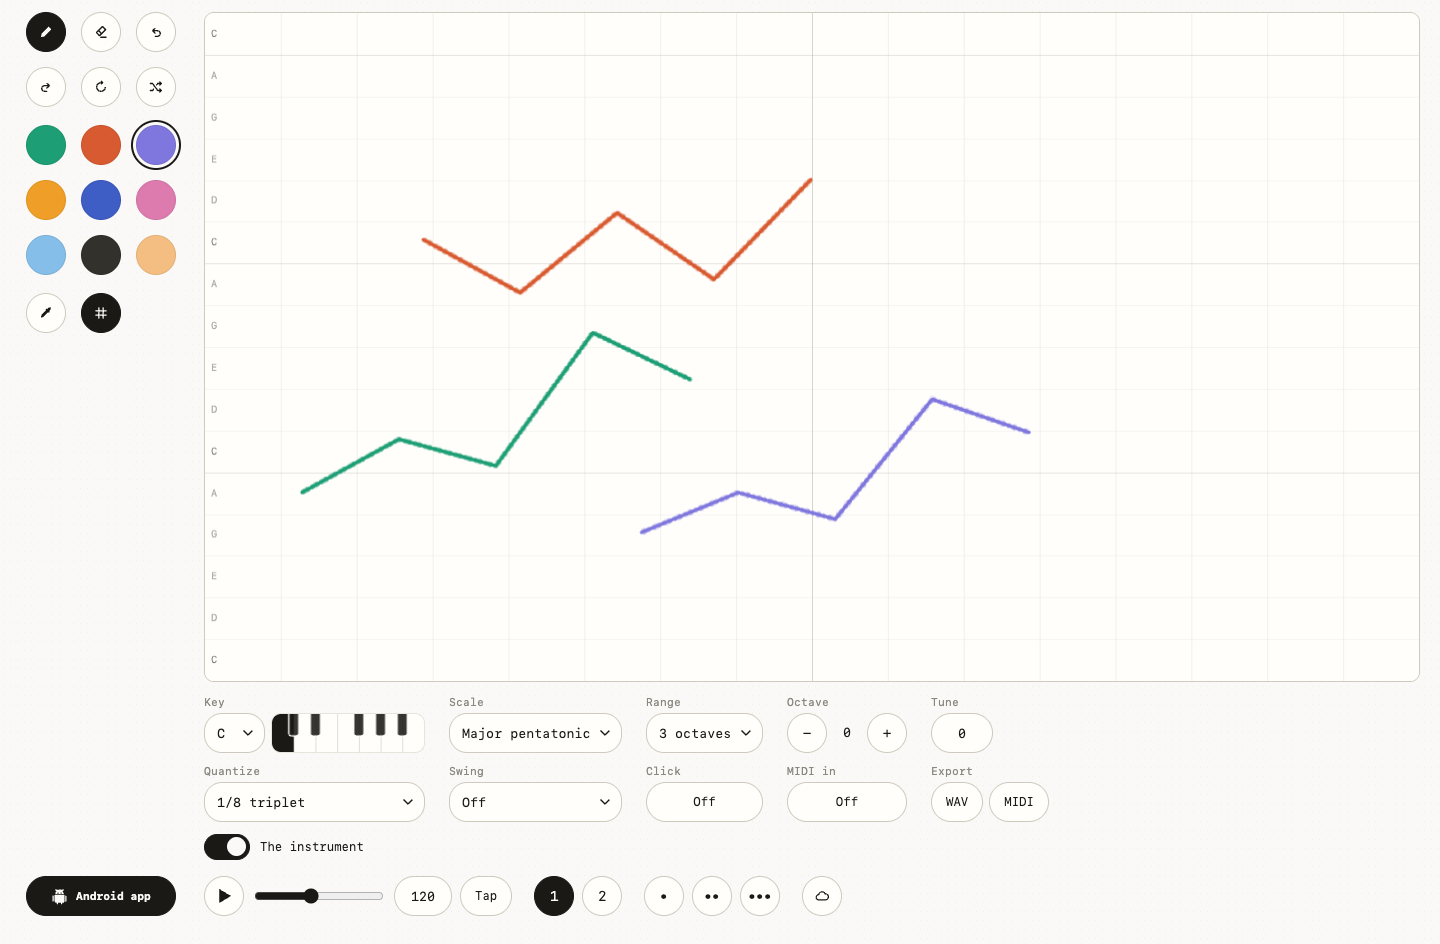
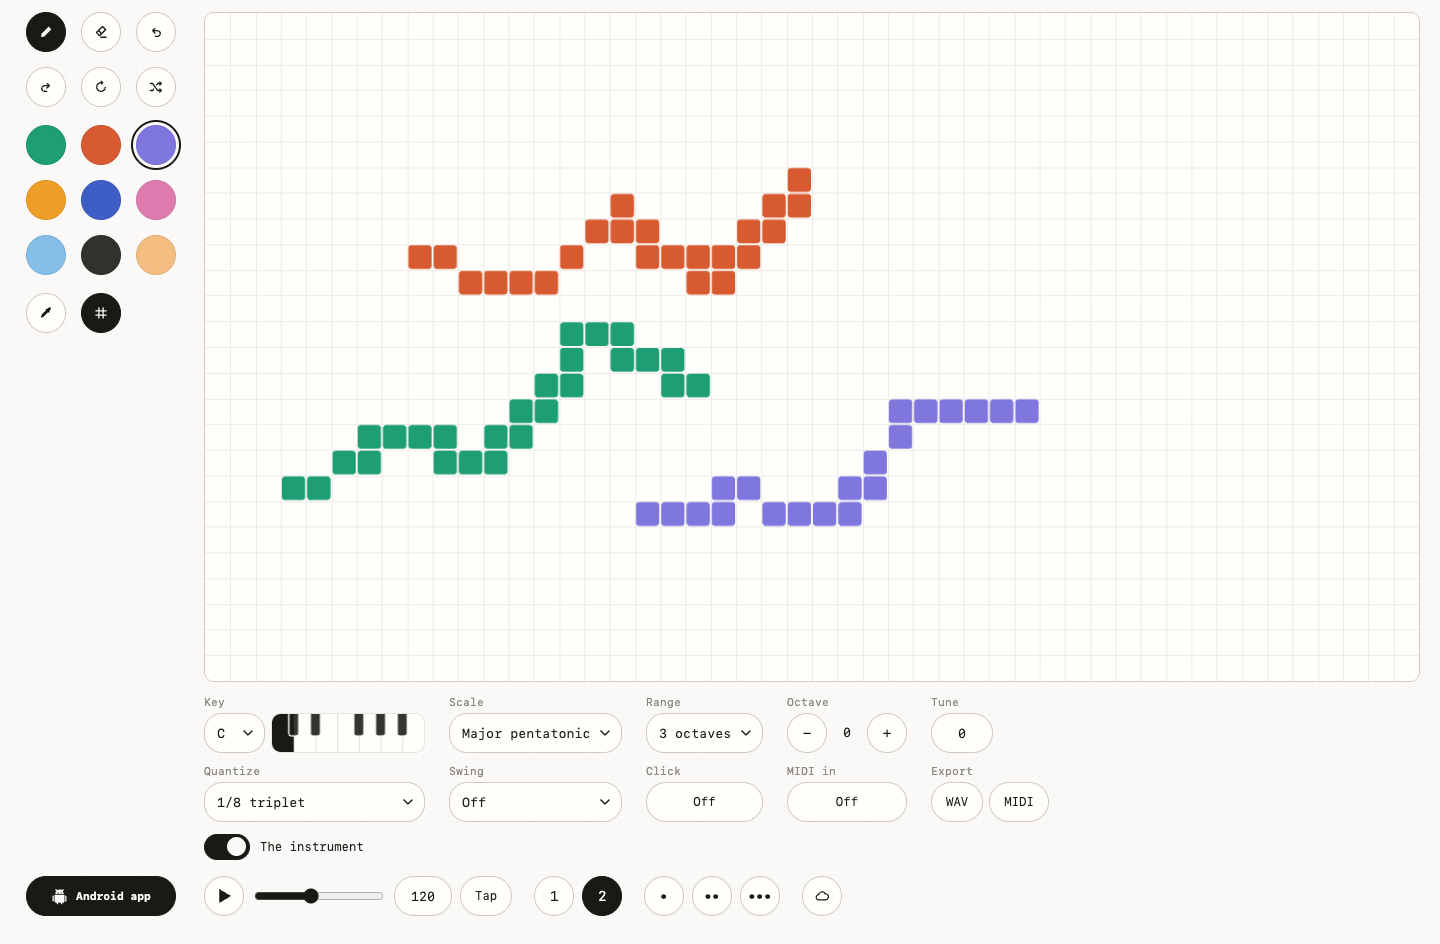
Start small: Make a short green zigzag, choose orange, and recreate the same zigzag in an empty area at the same height. Replace the orange copy with purple while leaving its position and contour intact.
Timbre is the character that lets two voices feel different even when they perform comparable note shapes. Ask yourself: Which qualities change when timing and pitch shape stay nearly the same?
Watch out for drawing the colored versions at different heights and then attributing every difference to the voice. If that happens, undo the second shape and trace it again against the same grid rows used by the first.
If you are curious, try this: Stack two colors at the same horizontal moment, then separate them so they answer one another. You should be able to distinguish a layered accent from a later call-and-response phrase. You may prefer the imperfect version. That is a choice, not a failed experiment.
Use tempo after the drawing already works
Tempo is most useful when it interprets a phrase you already understand. Moving the slider too early can hide whether a problem comes from the drawing's spacing or from the speed of the whole loop.
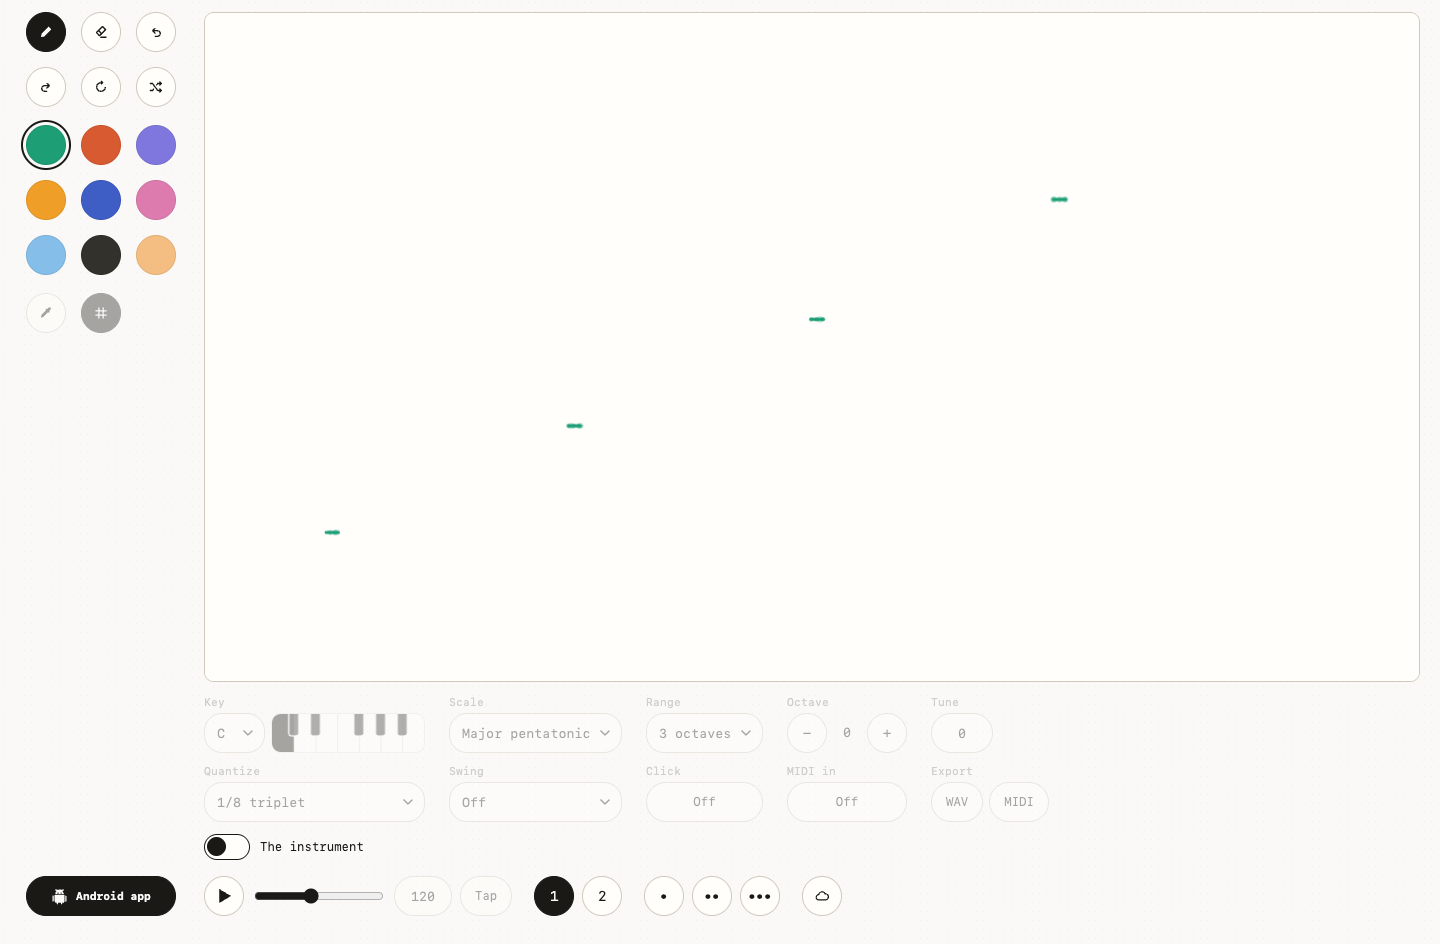
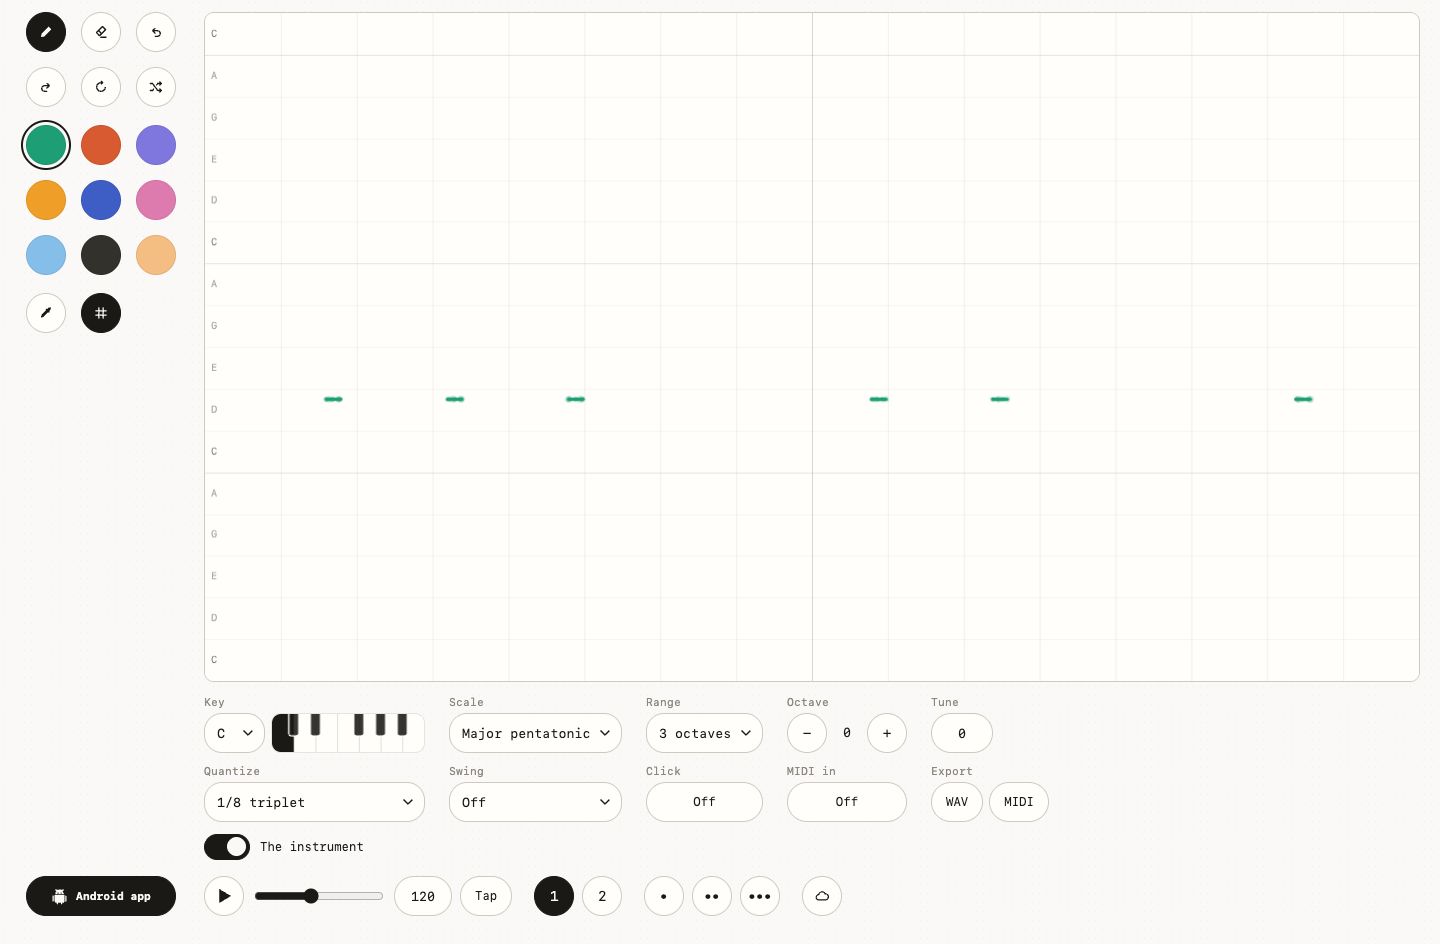
Here is the useful comparison: Create four evenly spaced marks and listen at the default tempo until the pulse is easy to follow. Move the tempo lower, then higher, without moving any mark.
The tempo scales the reading speed of the page, while the marks retain their relative order and spacing. Ask yourself: Which version gives the rests enough room, and which turns the four marks into a single burst?
If the result is hard to read, you may be using tempo to repair irregular spacing that should be fixed on the canvas. If that happens, return to the default tempo, correct the mark positions, and only then compare slower and faster playback.
There is one more version worth hearing: Remove the third mark to create a rest, then listen at three tempo settings. The missing event should remain perceptible at every tempo even though its emotional weight changes. The point is not to win the comparison; it is to notice what changed.
Compare freehand drawing with the grid and alternate programs
The first program favors continuous drawing, while the other visual modes reveal the same canvas through different constraints. The grid adds orientation without forcing you to abandon playful marks.
Before adding anything else: Turn on the grid and redraw your first rising line so its turns land near visible beat divisions. Switch to Program 2 and inspect how the visual and rhythmic emphasis changes.
A program changes how the editor interprets or presents marks, whereas the grid supplies a reference for deliberate alignment. Ask yourself: Does the phrase become more stepped or percussive when the program changes?
The comparison stops being useful when you start switching programs repeatedly without preserving a reference version. If that happens, return to Program 1, make a screenshot or share link, and compare one alternate program at a time.
You can turn the test into a sketch: Build a short block-like phrase in Program 2, then recreate its outline freehand in Program 1. The two versions should share a rhythmic identity while keeping visibly different textures. Save the odd result if it makes you want to listen again.
Edit the loop, save the source, and share the right format
Finishing does not mean filling every gap. It means the loop has a readable idea, a purposeful ending, and a format suited to what the next person needs to do with it.
For the last pass: Play the complete loop three times and remove any mark whose role you cannot describe. Create a share link for the editable drawing, then export a listening copy separately.
A share link preserves the interactive source, while exported audio or MIDI serves a different downstream use. Ask yourself: Does the loop still communicate its main gesture after the unnecessary marks are removed?
The last thing to avoid is treating a downloaded audio file as if it could restore every stroke and editor setting. If that happens, keep the tested share URL beside the export and open it in a fresh tab before sending it.
Then stop reading and try one final variation: Make a second ending with more empty space and ask another listener which repeat feels clearer. Your final package should contain one editable source and one clearly named listening or production file. You have enough information now. Close the guide and make the next choice by ear.
Wiggly Music app
Keep making music on Android.
Take the idea with you in Wiggly Music.